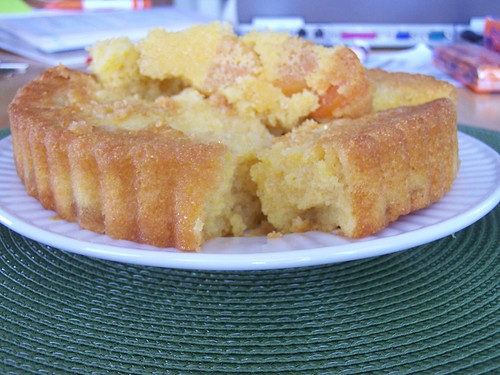
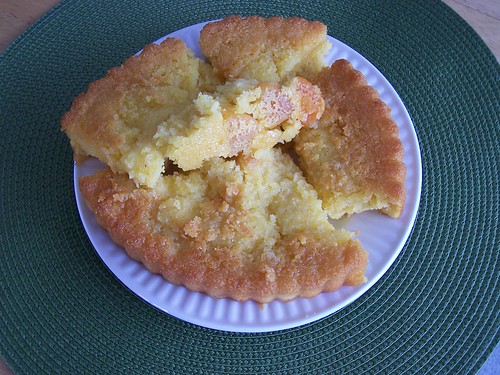
Fluted Polenta and Ricotta Cake
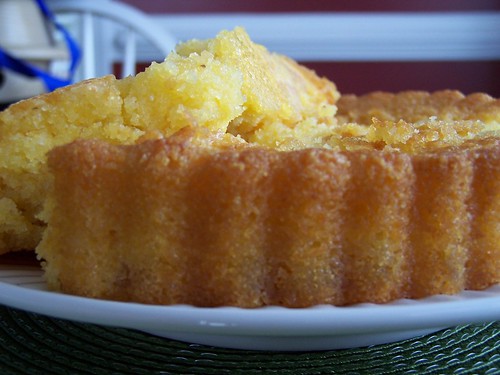
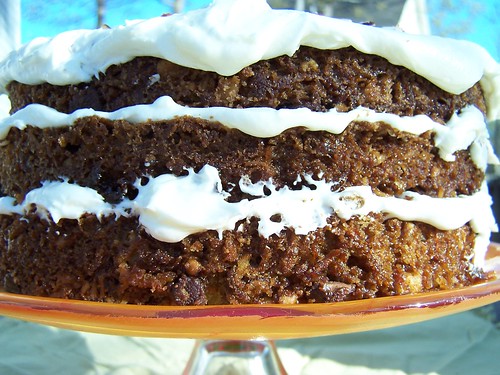
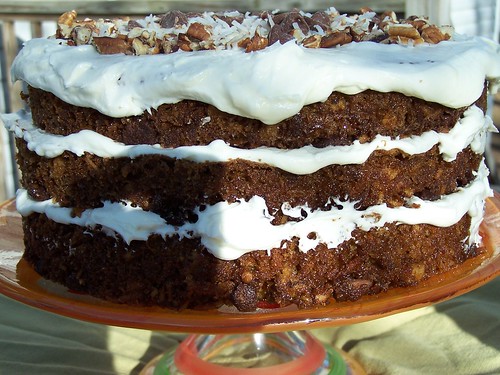
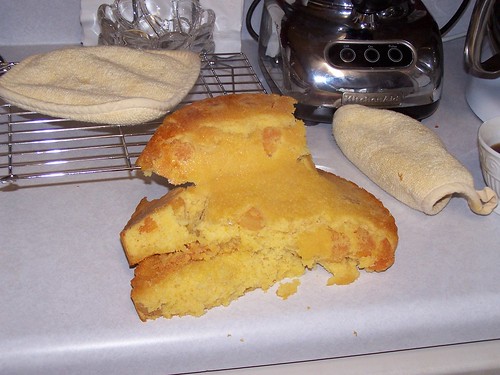
Well, I have to say that my second Tuesdays With Dorie assignment did not go as well as the first. The cake looked great. I had no overflow of the batter. I didn't have the "sunken rectangles" from the butter. I had the little white circles from the pats of butter. ( I cut the butter up very tiny to try and prevent the sunkenness ( is that even a word- it has a red line under so I'm gonna assume it's not!). It was a very pretty color. And then it was time to remove the pan. I don't know what I thought would happen. I mean five minutes earlier the pan had just come out of a really hot oven. So why would I think that I could let the outer ring of the tart pan slide down around my arm while I set the cake back on the cooling rack?? Well, when you do this I will tell you that it burns- bad. I could try and explain to you what happened at this point but I'll just show you. At least it didn't fall on the floor!
Fluted Polenta and Ricotta Cake
About 16 moist, plump dried Mission or Kadota figs, stemmed
1 c. medium-grain polenta or yellow cornmeal
½ c. all-purpose flour
1 tsp baking powder
1 c. ricotta
1/3 c. tepid water
¾ c. sugar
¾ c. honey (if you’re a real honey lover, use a full-flavored honey such as chestnut, pine, or buckwheat)
Grated zest of 1 lemon
2 large eggs
Getting Ready: Center a rack in the oven and preheat the oven to 325 degrees F. Butter a 10 ½-inch fluted tart pan with a removable bottom and put it on a baking sheet lined with parchment or a silicone mat.
Check that the figs are, indeed, moist and plump. If they are the least bit hard, toss them into a small pan of boiling water and steep for a minute, then drain and pat dry. If the figs are large (bigger than a bite), snip them in half.
Whisk the polenta, flour, baking powder, and salt together.
Working with a stand mixer fitted with the whisk attachment or with a hand mixer in a large bowl, beat the ricotta and water together on low speed until very smooth. With the mixer at medium speed, add the sugar, honey, and lemon zest and beat until light. Beat in the melted butter, then add the eggs one at a time, beating until the mixture is smooth. Reduce the mixer speed to low and add the dry ingredients, mixing only until they are fully incorporated. You’ll have a sleek, smooth, pourable batter.
Pour about one third of the batter into the pan and scatter over the figs. Pour in the rest of the batter, smooth the top with a rubber spatula, if necessary, and dot the batter evenly with the chilled bits of butter.
Bake for 35 to 40 minutes, or until a thin knife inserted into the center of the cake comes out clean. The cake should be honey brown and pulling away just a little from the sides of the pan, and the butter will have left light-colored circles in the top. Transfer the cake to a rack and remove the sides of the pan after about 5 minutes. Cool to warm, or cool completely.
 RECYCLE-